Attaching Decal
I made extra copies. *If you look at it very closely in real life, some didn't turn out that well...

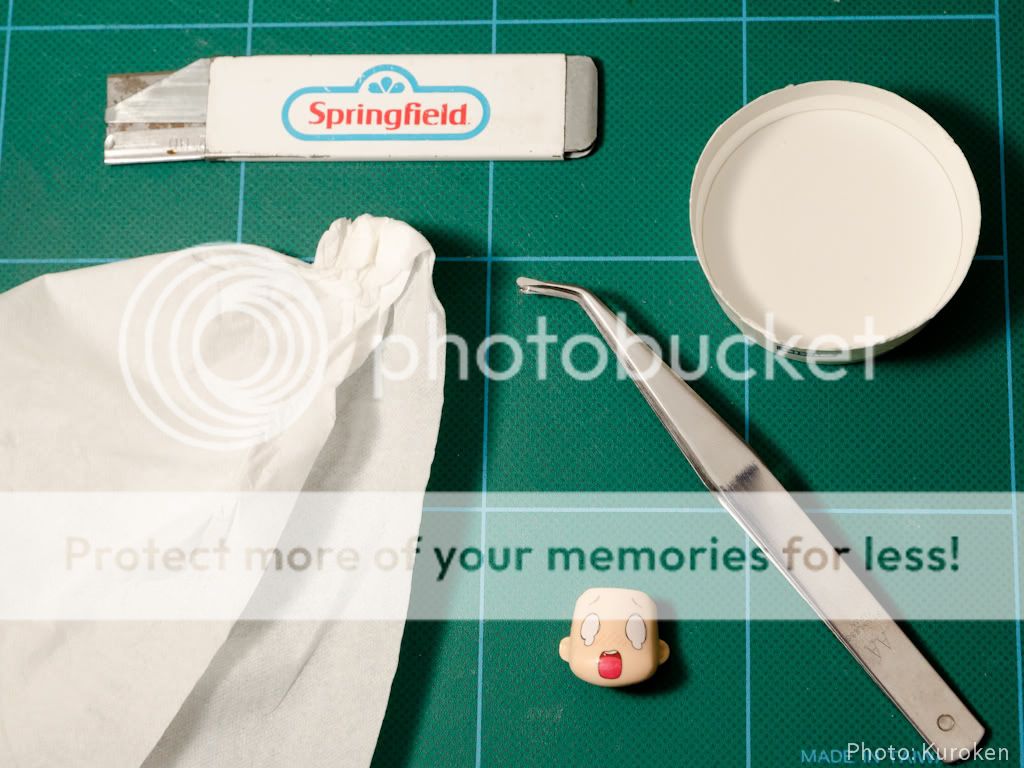

- Cut out the decal and dip it into a cup of water for 2 to 3 seconds.

- In a couple of seconds, the decal starts to come off from the base paper.
- Place the decal onto the blank face.
- Tip: Make sure to dab a little water on your finger and moisten the decal for easier adjustments.
- Caution: Do not apply too much pressure, or the decal may tear.
- Once the position is right, wipe the water away with a tissue.
- Caution: Careful not to create any wrinkles.
*As you may notice, they look very shiny.... (continues)

- Spray lightly with Mr. Super Clear (Flat). This will flatten the decal onto the flat face; also eliminates the shine.
- Caution: Use in a well ventilated area. (read warning label on the can)

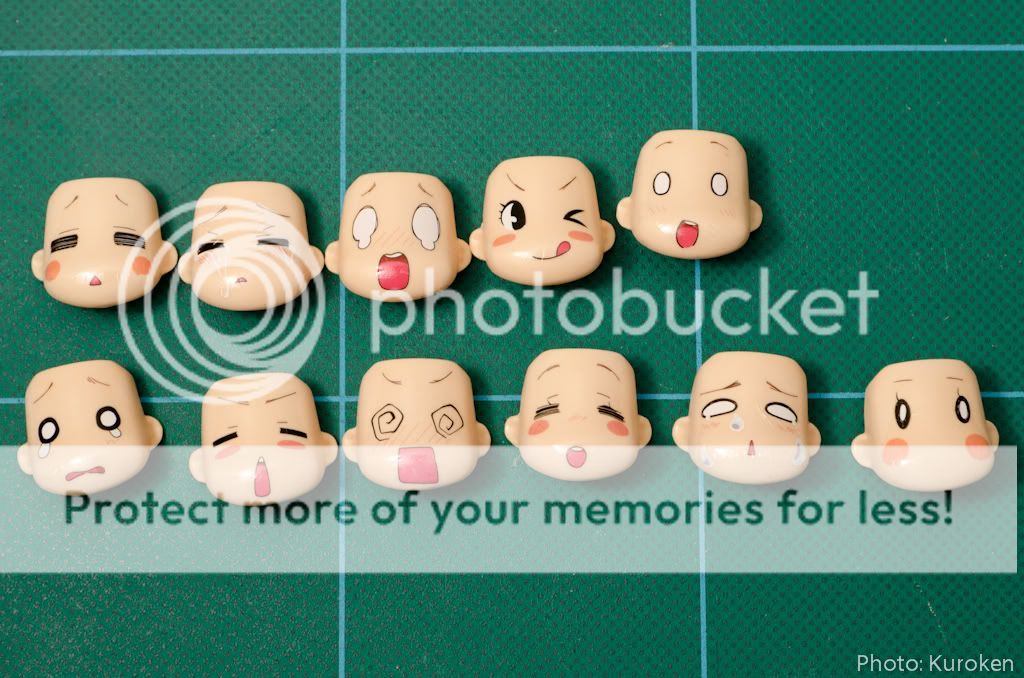
FINISHED!

I failed a couple of times. The final results aren't all too perfect either (if you look at it very closely), but I think it's usable...
Well that's it.
Thanks.
Hi, your blog is amazing.
ReplyDeletewhere are you buy the decal?