
This post will take you through the process that I went through in the making.
Materials:
- Resin A & B (RP-40 from Dascar Plastics)
- Silicon mold A & B (Platinum Silicon 73-25 from BITY mold supply)
- Tamiya Enamel (clear orange, clear yellow, clear red)
- Dropper (syringe)
- Mold release spray can
- Plastic measuring cups
- Clay (non-sticky and moist)
- Lego blocks
- Wires
- Tape
- Rubber band
- The cone to pour resin through
- Hirasawa Yui Decal
- Cutter or design knife
- Tweezer
- Water
- Cup
- Tissue
- Mr. Super Clear (Flat) from Mr. Hobby
- Cutter board
Mold Making

- Make sure the faces have at least 1 inch of space to breath on the clay.
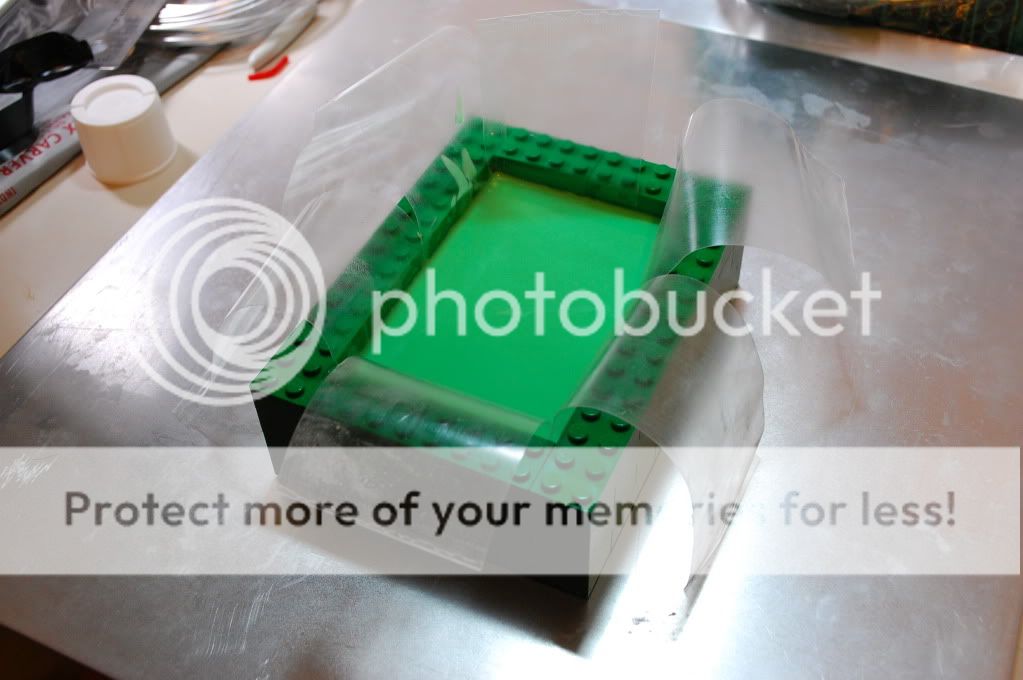
- Then make a box with lego blocks. (I use tape for easy clean up. Make sure to make it long on both ends)
- Then cut the clay so that the box can be set as shown in the picture above. (adjust if needed)
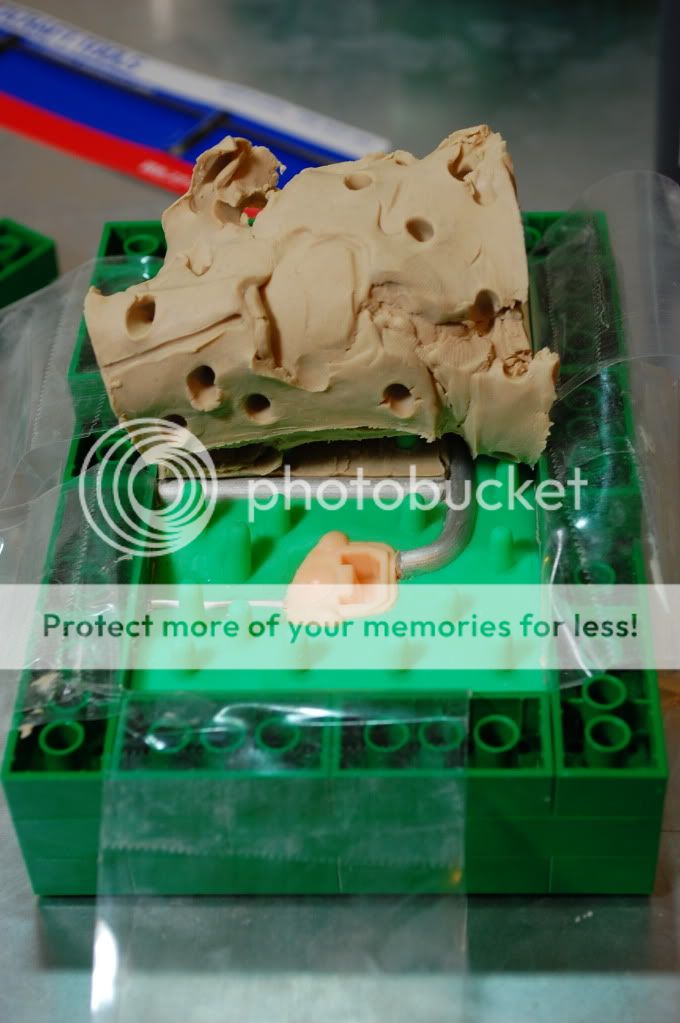
- Make outline of the faces and dig just enough so the faces will be embedded half way in the clay.
- Then set some wires (it could be anything solid) to make passage ways for the resin to go through.
- For this mold, I leveled the clay to the chin to line up with the seam lines on the faces.
- Finally, make sure the clay is nice and smooth. (The silicon will copy what ever gap there is)

- Since I'll be pouring resin from one passage, I added two small pathways for resin and air to pour out.
- Again, smooth out the clay.
- Measure and mix enough silicon to make at least 1 inch thick silicon rubber cast.
- Make sure to mix thoroughly and minimize air bubbles.
- Tip: pour in slowly from above, nice and thin, from the lowest point of area. (To minimize air bubble)
- Note: My silicon (Platinum Silicon 73-25) mixing ratio is 1:1. Usually silicon molds are 10:1 ratio, so make sure to check the mixing ratio if using different brand.
- Wait for mold to harden.


- Measure and mix resin and make 1 inch thick plate.
- Wait for resin to harden.
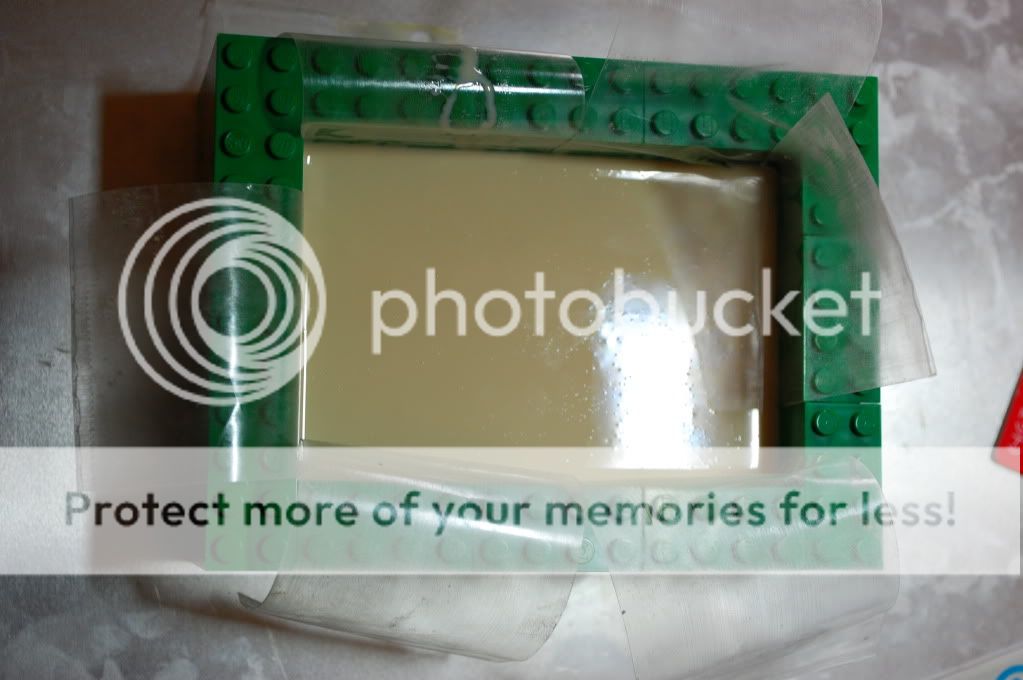
- Note: By making this plate, it'll give even pressure on the mold for more accurate casting. (When securing with rubber band in the end)
- Once everything is hardened, flip it over and remove the clay gently.

- Once removed, clean up the surface and prepare for second half of the mold.
- Spray mold release (check with manufacture of the mold for compatibility)
- Repeat the process for the other half. (Add lego, pour silicon, pour resin, etc.)

FINISHED!

- Attach rubber band and start recasting.

First recast may come out weird, because of the mold release agent.
With R-40 resin, it's not quite white, so I had to make several tests and came to this formula to be the best:
- Resin side A 6g
- Resin side B 6g
- Tamiya enamel clear orange: 3 drops w/ dropper
- Tamiya enamel clear yellow: 3 drops w/ dropper
- Tamiya enamel clear red: 1 drops w/ dropper
I'll cover the preparation, attaching, and finishing the faces in the next post.
Here's part 2!
Thanks
Smart ;)
ReplyDelete